

Installation
Important:
You'll need a HawkSearch engine before you proceed. For more information regarding creating a HawkSearch engine, check out our QuickStart guide.
Introduction
This guide walks through installing the HawkSearch plugin and connecting it to your HawkSearch engine. The process consists of three steps:
- Uploading and activating the plugin.
- Entering your engine information on the Settings page.
- Running the connection test.
Once connected, continue with Connector Configuration to choose fields, index your content and switch on HawkSearch search.
Install the Plugin
The plugin is supplied as a zip file (for example hawksearch-0.8.1.zip). Don't unzip it.
- In the WordPress admin, go to Plugins → Add New Plugin.
- Click Upload Plugin at the top of the page.
- Choose the zip file and click Install Now.
- Click Activate Plugin.
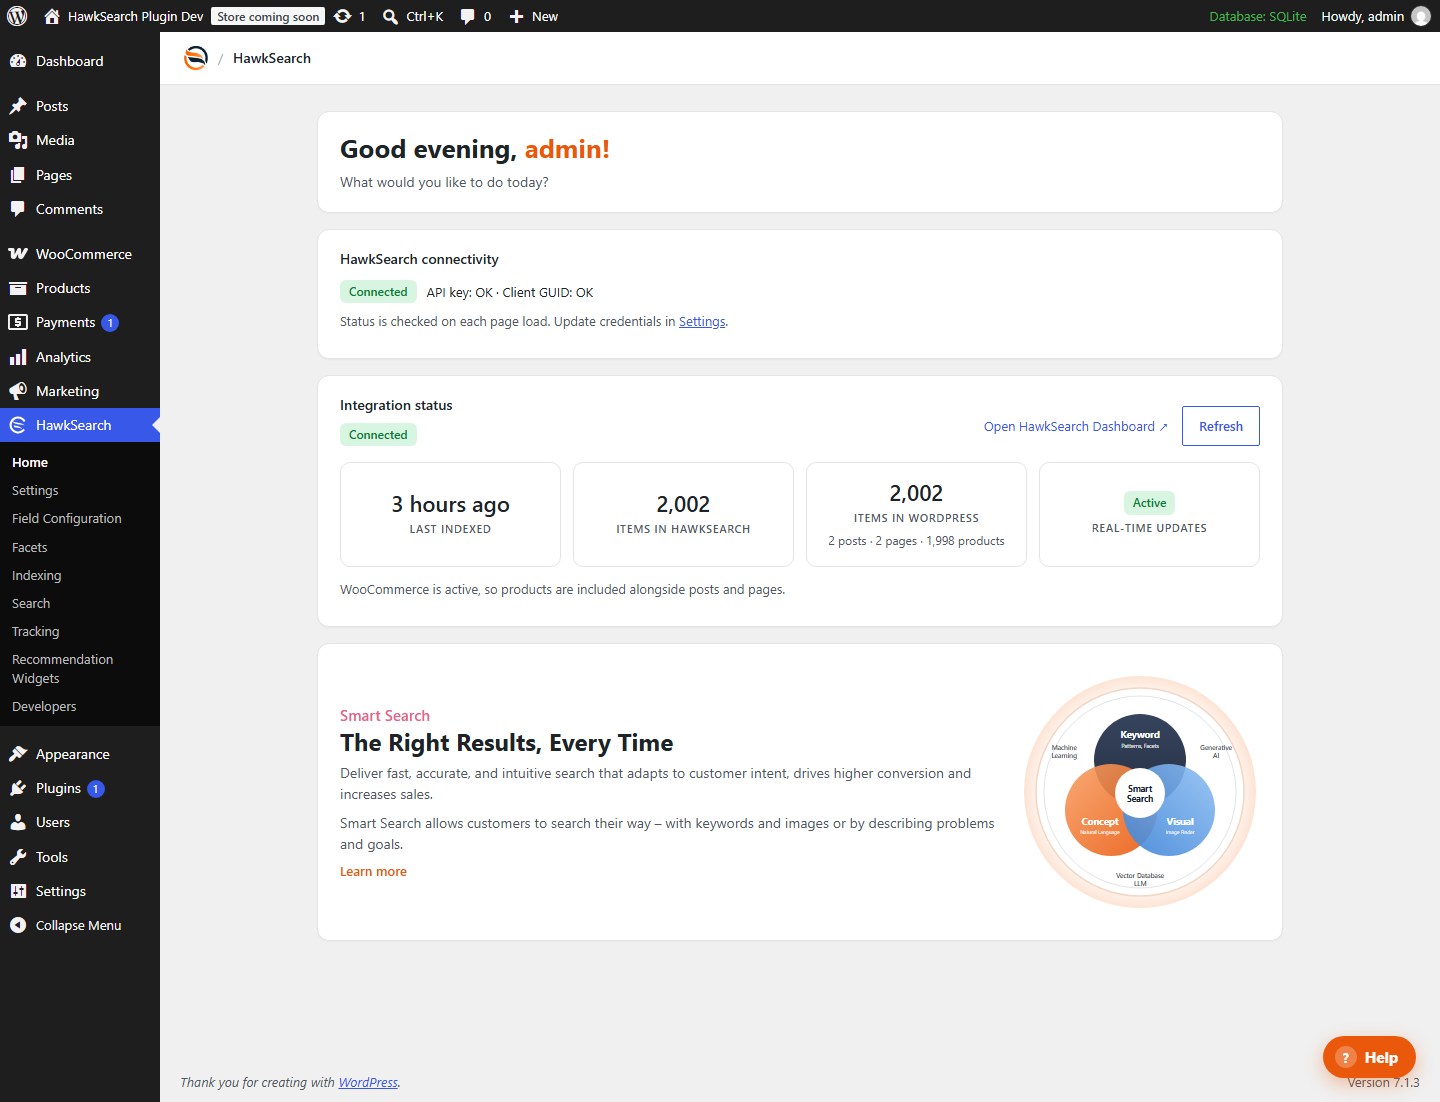
HawkSearch now appears in the admin menu, with its sections listed underneath.
Multisite networks
On a multisite network, upload the plugin from Network Admin → Plugins → Add New Plugin. Activate it on each site that should use HawkSearch (or network activate it). Each site has its own HawkSearch settings, so sites can use different engines.
Inputting Your Engine Information
Go to HawkSearch → Settings and enter:
| Setting | Where to find it |
|---|---|
| API Key | HawkSearch Workbench → Admin → Account Info. Used by WordPress only; it is never sent to visitors' browsers. |
| Client GUID | HawkSearch Workbench → Admin → Account Info. |
| Engine name | The engine's name in its vanity URLs, for example mystore in https://mystore.searchapi-na.hawksearch.com. |
| Environment | Development, Test or Production. |
The plugin builds the API endpoints from the engine name and environment. If HawkSearch gave you custom endpoints, switch on Use custom endpoints and enter them. See Settings.
Keeping the API key out of the database
Any of these values can be set in
wp-config.phpinstead. See Configuration constants.
Verify the Installation
Click Test connection on the Settings page. The test uses the values currently on the page, so you can check them before saving. It confirms that:
- the Client GUID is accepted by the Search API, and
- the API key is accepted by the Indexing API.
When both pass, the plugin also creates the standard HawkSearch fields your engine doesn't have yet (title, URL, image, price and so on). Click Save settings.
The Home page now shows Connected.
If the test fails, confirm that:
- the API key, Client GUID, engine name and environment all belong to the same engine;
- the values were copied without extra spaces;
- your host allows outgoing HTTPS requests to
*.hawksearch.com.
Updating the Plugin
To install a newer version, repeat Plugins → Add New Plugin → Upload Plugin with the new zip. WordPress notices the plugin is already installed and offers Replace current with uploaded. Your settings, fields, schedule and other configuration are kept.
After updating, check the release notes in readme.txt. Some versions ask you to click Detect Fields and Sync to HawkSearch on the Field Configuration page and then run a reindex.
Next Steps
Once installation is complete, continue to Connector Configuration to choose the content and fields to index, run the first reindex and switch on HawkSearch search.
Updated 1 day ago