
Index the Data
Now that you have a file with your data and the fields that match in your sandbox account, you are ready to push the data into your account.
Step 1: Create an Index
The first thing we need is an actual index. Most HawkSearch instances have two indexes available. One is the live index used on the website and the other is either a backup, or the new index with new data that will eventually replace the live or what is referred to as the "current" index.
Go back into your postman collection and find the request Create Index. Once again, you need to enter the API Key in the Headers tab. There is no body for this call – it's just a request to create an index.
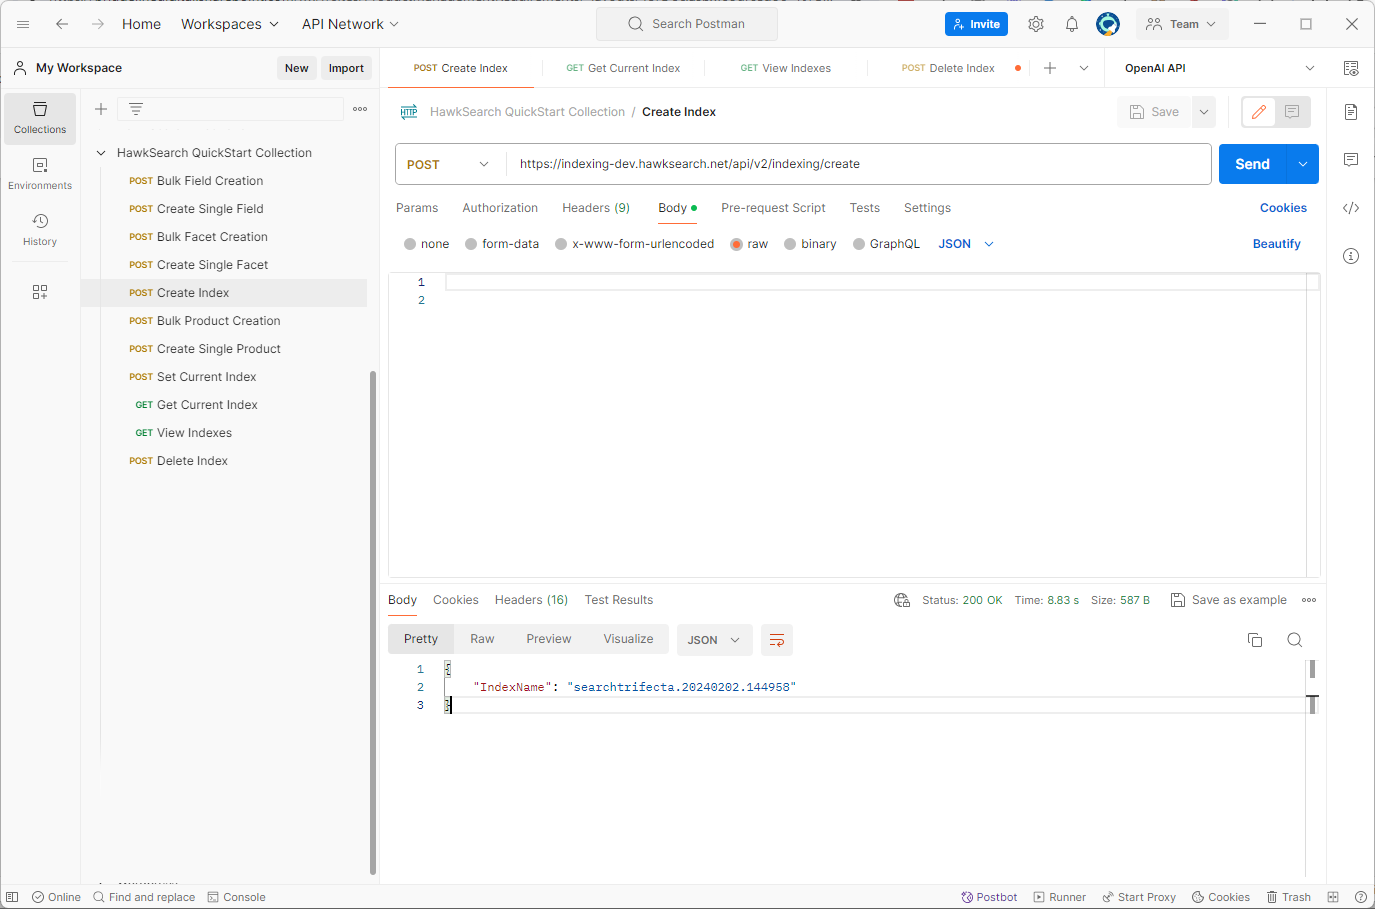
Note the returned index name - you will pass that into the next API call.
Step 2: Index the data from your data file
As you did with the fields and the facets, run the “Bulk Product Creation” request and use the HawkSearch_Sandbox_Quickstart_Product_Data_File.csv file you downloaded. Remember to set the API key in the Headers tab and also make an additional change – in the body – you need to change the name of the index to the index name that was just created.
It will take about 5 minutes for the run to complete. Note that in production scenarios, the bulk indexing function is used which is much faster.
Step 3: Check the Results
The results from each call will come back with success or failure. If there is an issue, you can click on the result and see what was sent to HawkSearch. If there is no error message that is helpful, you could copy the full call into another Postman call with only that data to see if there is a more detailed error response. If the values are not populated, then it means the value between {{ }} does not match to a column heading name.
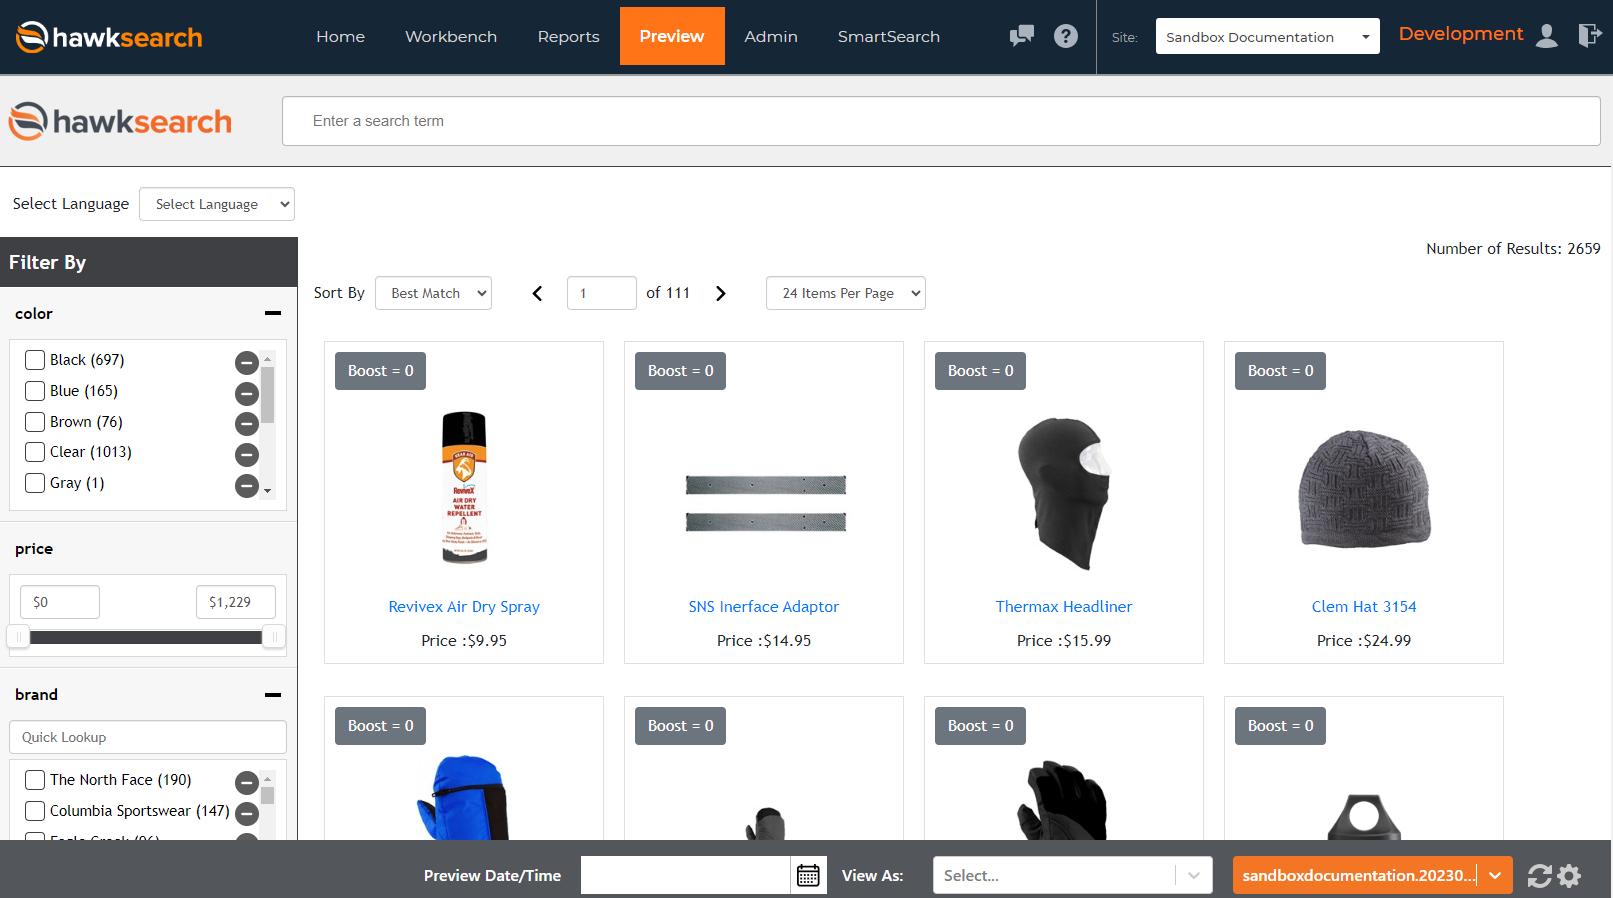
You can also see the new index in HawkSearch itself. When logged in, go to “Preview” navigation option on the top of the screen. You should see something like this:
Step 4: Additional Settings
You’ll notice in Autocomplete that the images don’t appear. That is a setting you need to make in the Workbench by going to: Workbench -> Keyword Search -> Autocomplete -> Edit Top Product and then map the URL and image to the fields in your index:

Step 5: Set Current Index
Once your index process is complete, you should set this new index to the "Current" index. This is necessary because you will eventually have two indexes in your instance - one for what is live and one for new data. When you are done with new data processing, you then switch the instance to that index.
The name of the request in your Postman collection is “Set Current Index” - remember you need to set the API key in the Header tab. You also need to set the new index name in the body.
Updated about 2 years ago